Create a person profile, Lab / Research Site
This template is used to create a People section of a site. Individual profiles automatically create a People landing page on the site where all the profile images and names can be seen and individual profiles accessed.
Features
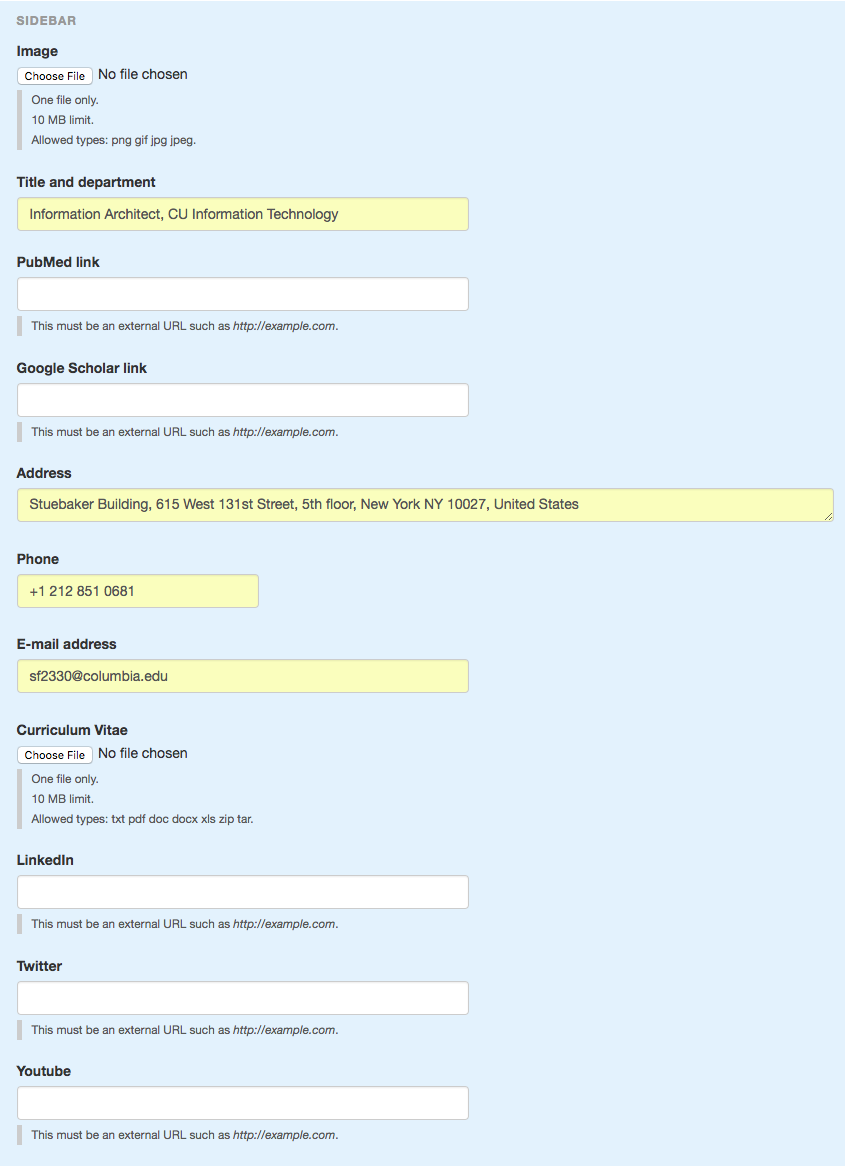
- Optional personal statement displays on top of page
- Categorize profiles into subcategories
- Upload CV for users to view
- Automatically formats contact information, Twitter, LinkedIn, and Youtube links
IMPORTANT: Set the profile taxonomy terms before creating profiles.
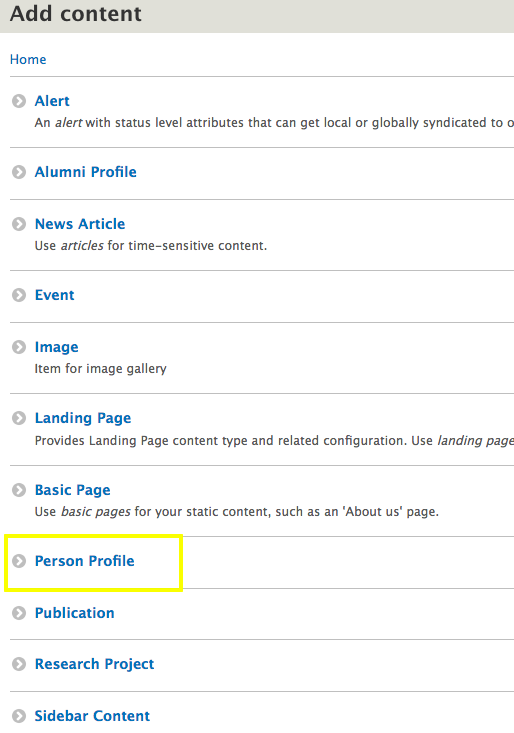
From the top navigation menu, click on Shortcuts > Add Content.

From the Add Content menu, choose Person Profile.
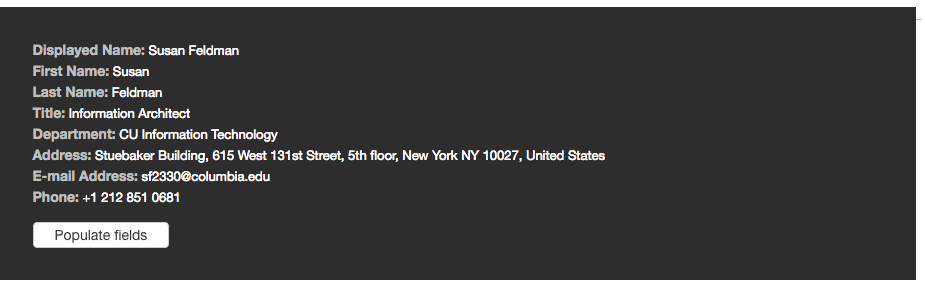
Enter a UNI and click Fetch from Directory to have the Columbia Directory find the profile information. Click Populate Fields to have the information automatically fill in the fields on this page
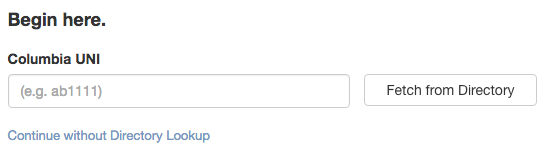
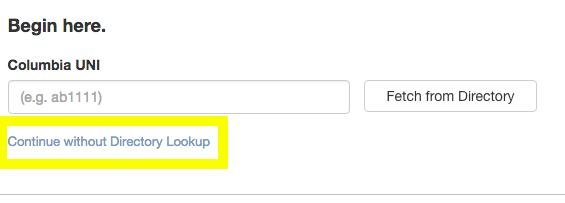
Alternatively, you can click the Continue without Directory Lookup link to enter all fields manually.
Click populate fields to automatically fill out many fields in the profile
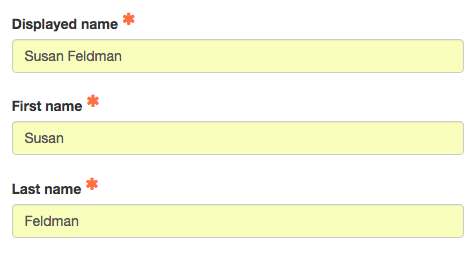
Enter or edit name information.
NOTE: Displayed name is the name that appears on the page.
First name and Last name are only used on the backend for sorting.
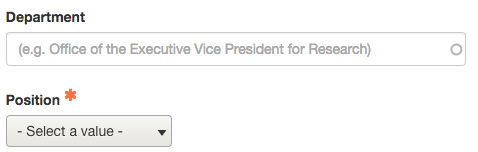
Select Department and Position for the profile entered.
This will categorize the profile accordingly on the profile landing page and will also appear on their individual profile page.
IMPORTANT: Department and position terms must have previously been set up in the profile taxonomy.
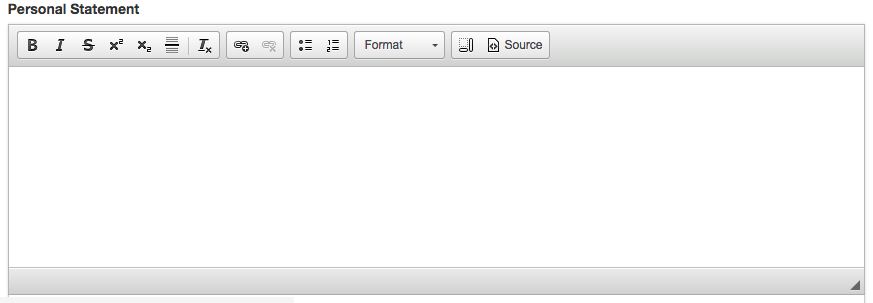
Enter the personal statement, which displays in larger text on the profile page
Build out your page.

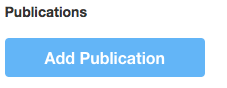
Assign previously entered publications
Use this to tag previously entered publications to the profile.
If needed, edit the listing priority

Be default, this is set to 0 and profiles are listed alphabetically by last name. Chances are this setting does not need to be touched.
Only use this dropdown for listing a profile in a different order. This is typically only used if to make one profile, say the Principal Investigator (PI), come first in the profile listing.
Smaller numbers make a profile list before others; larger numbers make profiles list after others. In the example of having the PI listed first, set that profile to -1. All others should stay set to 0. With this setting, the PI is listed first and everyone else is still listed alphabetically.
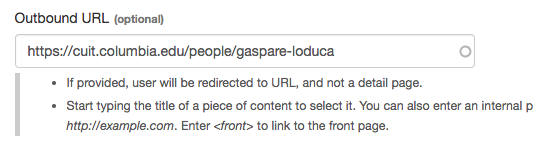
OPTIONAL: add an outbound URL for the profile
If an outbound URL is entered, the link from the directory goes directly to that outbound link instead of going to an internal page with profile information.

NOTE: if an outbound URL is entered, the rest of the fields on the page become inactive.
Enter your profile picture and all relevant fields.
- Image specifications: 560 x 690 px, at 72 dpi
- Instructions for uploading and cropping images
NOTE: if no images is uploaded, a gender-neutral avatar will display