View Submissions
There are two ways to viewing submissions:
- They can be viewed all together at any time or download as needed
- In addition to viewing them all together, individual submissions can be sent to specified email addresses as soon as they are submitted

View all submissions
Go to Shortcuts > Forms

Find the title of the form in which you are interested
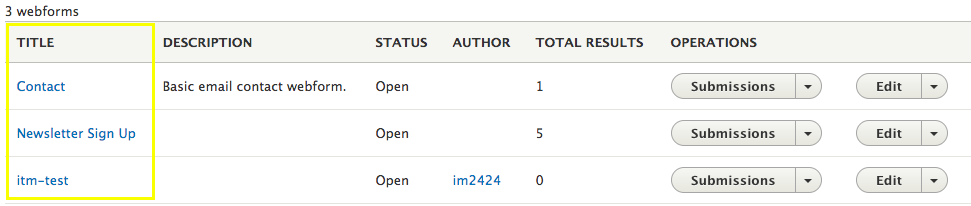
Select how to view submissions

Send submissions to email address
Go to Shortcuts > Forms

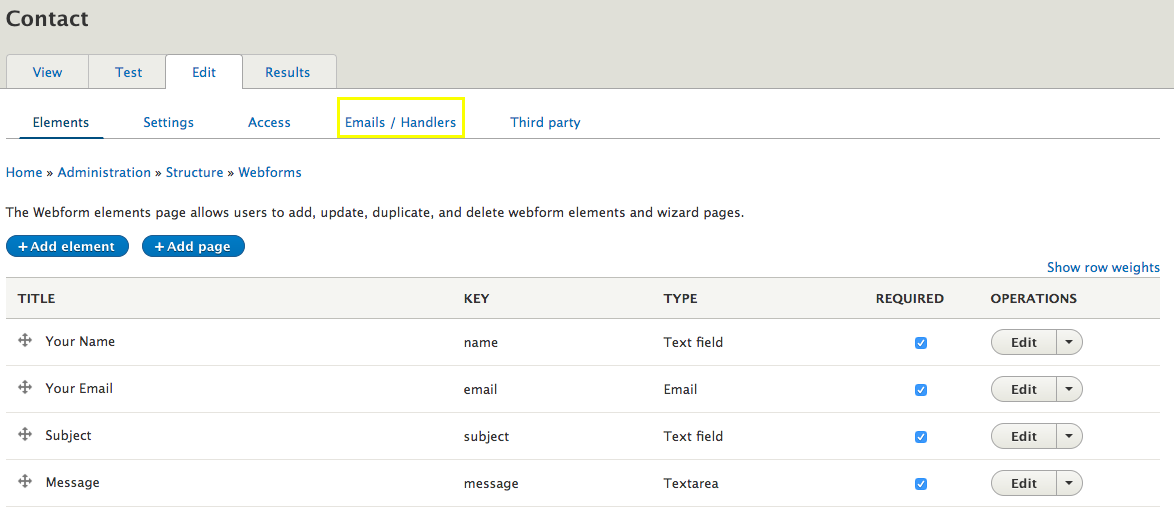
Find the form of interest and click Edit

Click Email / Handlers
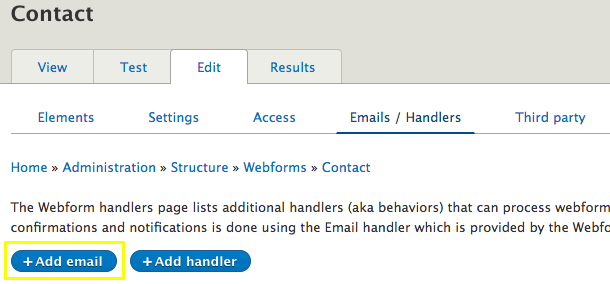
This view is a listing of all email handlers created by the title entered upon creation.
Click +Add Email
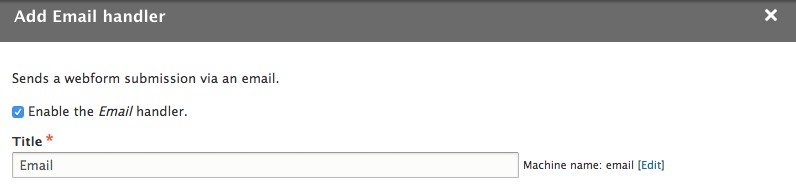
Add a title for the email handler you are creating
The title appears on the Email / Handlers tab listing.
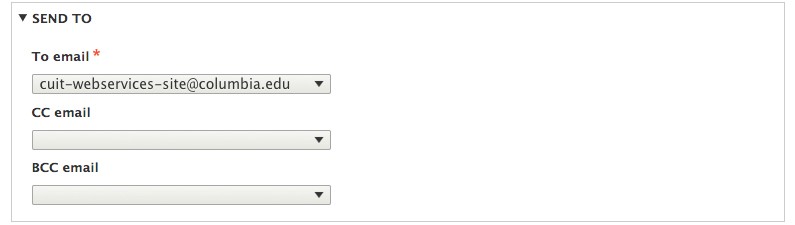
Enter the SEND TO dropdowns
Just like typical email clients, people can be sent directly, Cc'd or Bcc'd an email.
- Select Custom to email address... to enter any email(s) of your choice.
- The Default email is the contact person for your Columbia Site.
- Select the relevant field under Elements if the email should be sent to the value submitted in that field.
- NOTE: only use this option for Email form elements
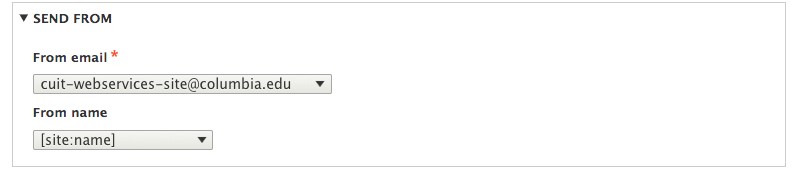
Enter the SEND FROM dropdowns
Enter the From email to display on the received email
- Select Custom to email address... to enter any email(s) of your choice.
- The Default email is the contact person for your Columbia Site.
- Select the relevant field under Elements if the email should be sent to the value submitted in that field.
- NOTE: only use this option for Email form elements
[Optional] Enter the From name to display on the received email
- Select Custom from name to enter any name of your choice.
- The Default is your site name.
- Select the relevant field under Elements if applicable
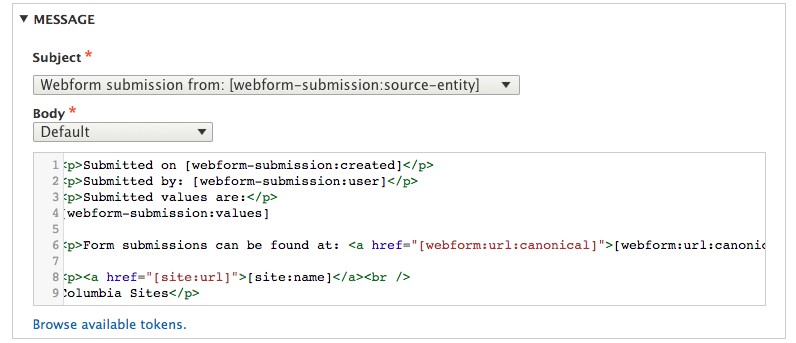
Enter the text for the Message to be sent in the email
Enter the Subject to display on the received email
- Select Custom to enter any subject you choose.
- The Default is ?????.
- Select the relevant field under Elements if applicable
Enter the Body to display on the received email
- Select Custom to enter any body you choose.
- The Default is the email text seen in the textfield.
- IMPORTANT: do not change anything in this textfield.
- If you want to change anything, select Custom.
- Select the relevant field under Elements if applicable
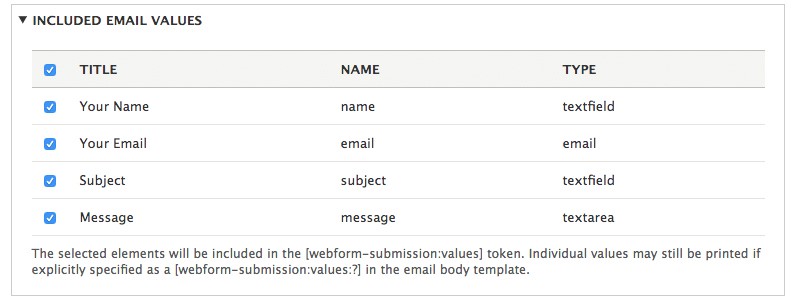
Select any email values to be included
Select any values from your form to be included in the email submission.
Settings
Do not touch this! Keep it set to Send email as HTML.
