Multi-page forms
Forms are by default on a single screen. They can also be broken up across multiple pages.
NOTE: Most forms are handled well on a single screen. Multiple pages are recommended when the information being gathered breaks down into clear categories, with each screen corresponding to each category.

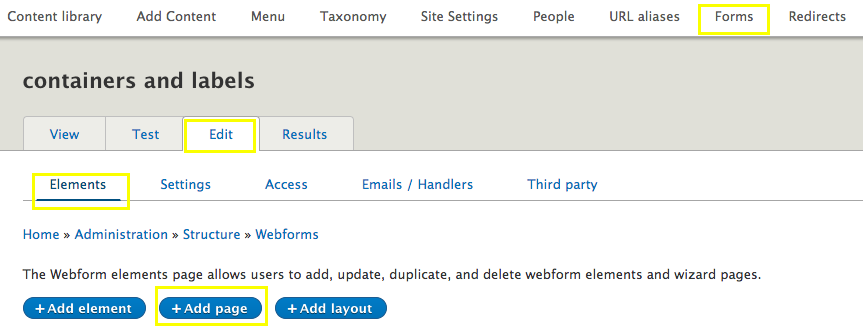
Begin creating a form.
Read how to create a form.
Click +Add page
Add a title for the form page
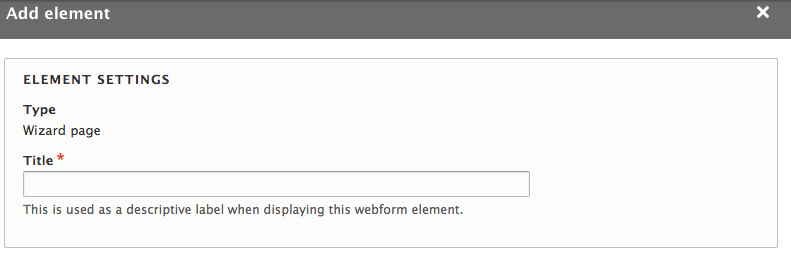
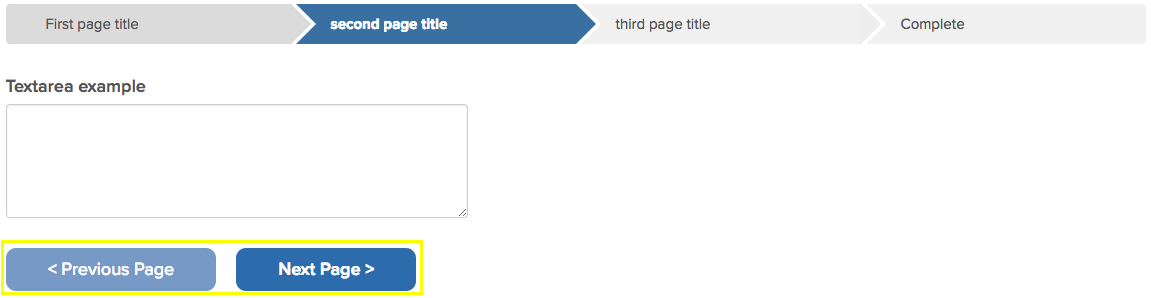
The title appears on the wizard bar.

NOTE: Titles should refer to the category of information requested.
Enter previous page and next page button labels
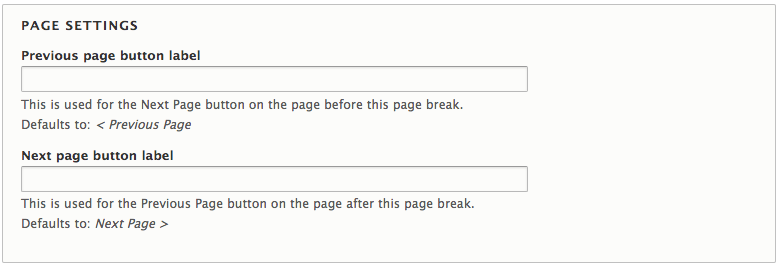
Next Page and Previous Page are the default button labels if you keep these fields empty.
Enter a confirmation message to appear after successful form submission.
Click Settings to access the confirmation message.

Scroll down and click on Confirmation Settings and enter in your confirmation message.
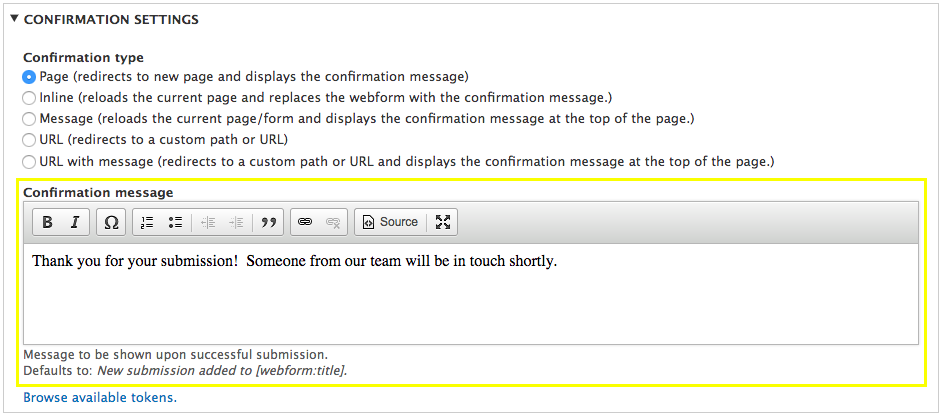
Your confirmation message displays after the form is submitted.

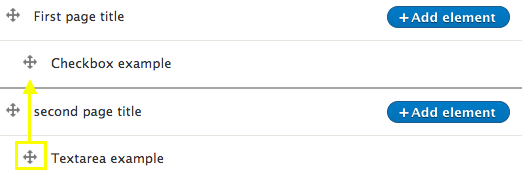
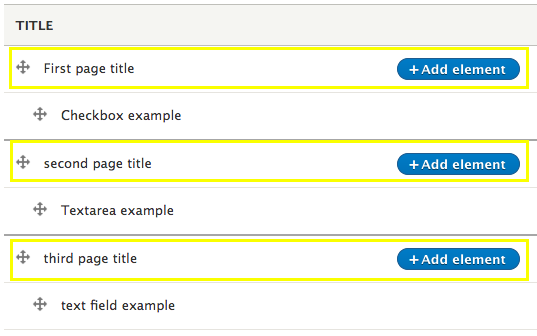
Add elements accordingly for each page created
- Each form page created has an +Add Element button associated with it.
- Click the form page's +Add Element button to add elements for each page.
NOTE: You can drag previously created elements on the form to any multiple page created by using the element's crosshairs.