Site Settings
Definition
Site Settings allows you to configure foundational elements of your website, including contact information, social media links, and navigation menus. These settings help establish the site identity and ensure consistency across pages.
Accessing Site Settings
- Log in to your Columbia Sites website.
- Navigate to Shortcuts > Site Settings.

Configuring Default Settings
Content Tab
Use the Content tab to configure default landing pages for the Content Types driven by taxonomy terms as well as to set the homepage and the default Sidebar, which appears on all Basic Pages. To set each default:
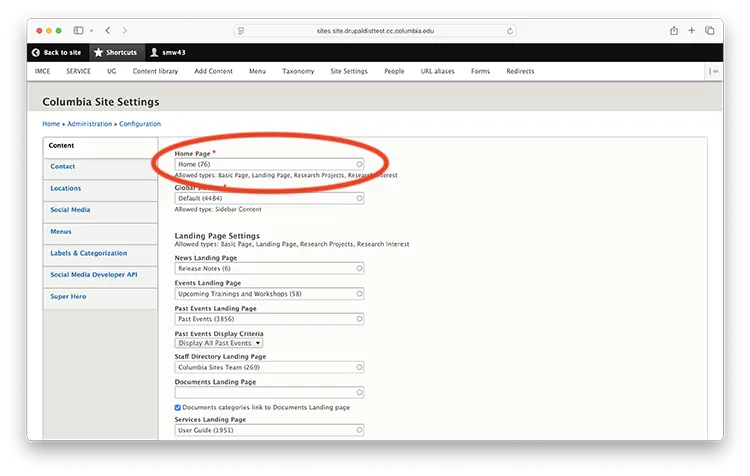
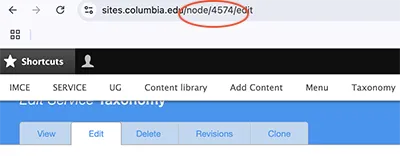
- Open another browser window and navigate to the page you want to be the default. Enter edit mode, and from the address bar, copy or make note of the node number.
- Back in Site Settings, enter the page title. As you type, suggested pages will appear. Select the page you want to be the default and make sure the node number matches the page you want to be the default, in the event you have page titles with similar or identical names.
- Scroll to the bottom of the page and click “Save configuration.” Your default landing pages are now set.
Contact Tab
Use the Contact tab to set your organization name, which will appear in the header. To upload a logo instead, email Columbia Sites. Note that your logo must comply with University Brand Guidelines. If you need compliant branding, contact Columbia Creative.
Additionally, you can add an email address, phone number, and internal site URL that display in the footer.
Note: Uploading a logo overrides the Organization Name in the header. Using Superhero will also override any logo file uploaded under the Contact tab.
Locations Tab
Add up to three physical addresses to be displayed in the footer.
Social Media Tab
Include links to social media profiles. These icons will appear in the footer.

Labels Tab
The Labels tab allows you to rename filters used in directories such as the Profile Directory, Services Directory, and Video Library to better reflect your organizational terminology.
For example:
- Default Labels: Industry, Focus
- Customized Labels: Services, Department
Utility Navigation
The utility navigation appears at the top right of your site. You can add up to three links.
- Go to the Menus tab.
- Expand UTILITY NAV.
- Enter the Title and Relative URL for each link.
Note: To add a Utility Button:
- Check the Enable Utility Button box.
- Enter the Button Text and Destination URL.
Footer Navigation
By default, the footer mirrors the main navigation. To customize:
- Go to the Menus tab.
- Expand FOOTER NAV.
- Enter up to five links with corresponding titles.