The Columbia Sites team has recently deployed several enhancements designed to make your content management tasks easier, faster, and more intuitive.
Better Tracking of Search Keywords
Search results now appear on a dedicated page instead of the previous pop-up overlay.
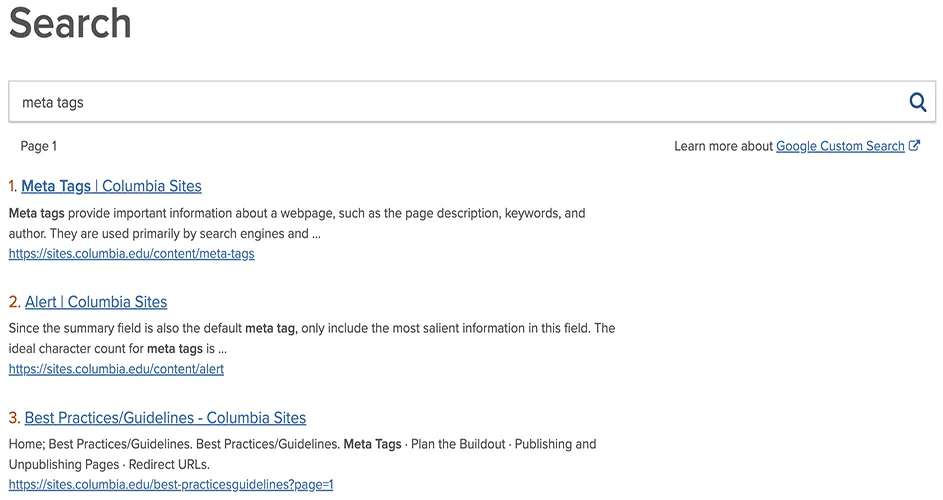
We also updated how search terms are tracked to make it easier to view keywords and search terms in Google Analytics, gaining insight into ways to improve content strategy and search engine optimization (SEO).
Access Search Reports in Google Analytics
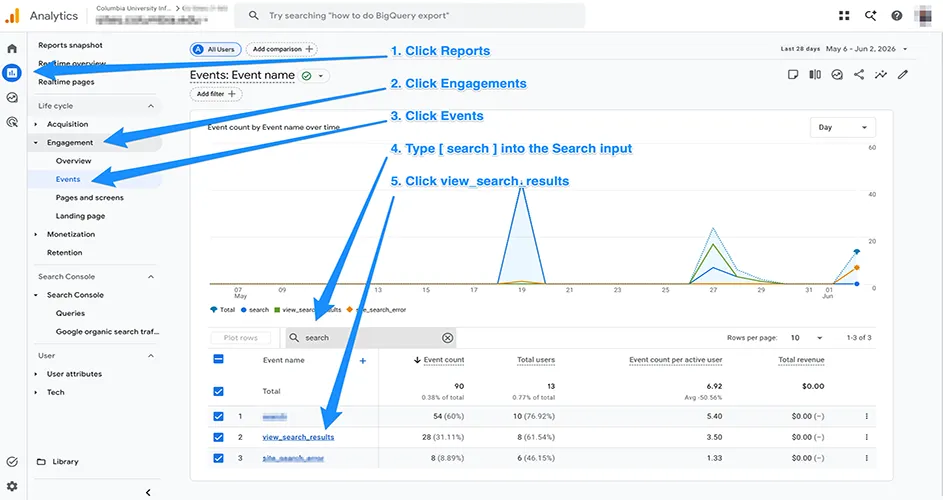
Visit Google Analytics at analytics.google.com
- Use the search bar at the top of the page to find and select your website’s GA4 property.
- In the left-hand navigation menu, select Reports.
- Click the Engagement section.
- Select Events.
- Scroll down to the graph and data table in the lower half of the page.
- Locate the search input above the table.
- Enter the relevant search-related keyword or event name into the search input.
- Select View search results to open the report and review the results.
New Webform Viewer Role
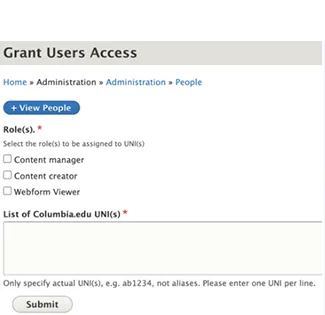
If you’ve ever needed to give someone access to your website to review form data but didn’t want to allow them administrative access to the whole site, this update is for you. A new Webform Viewer role is now available for assignment by Content Managers. This role provides limited access to webforms and their submissions, allowing designated users to review form results without granting broader administrative permissions. Content teams can now safely share webform data with colleagues who need visibility into submissions while maintaining appropriate content and settings controls.
Video Playlist
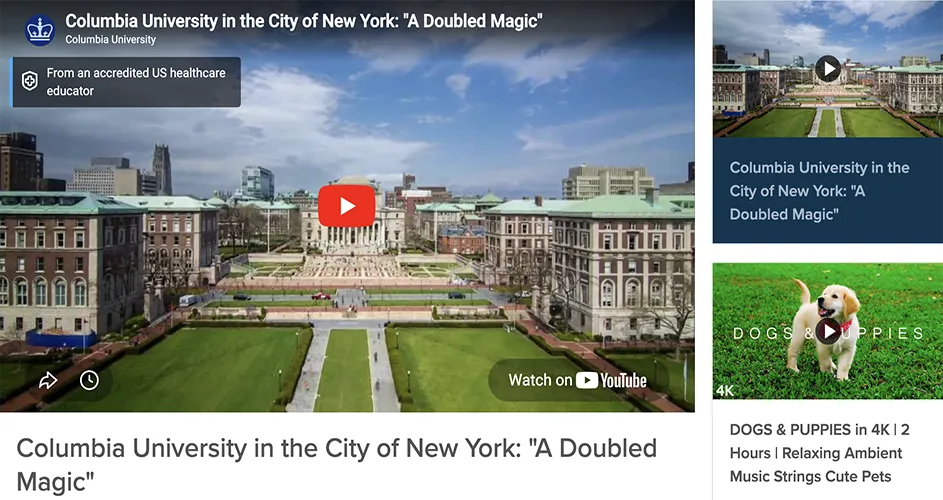
Video Playlist is a new component that allows Content Managers the ability to display videos in a curated, structured layout. Choose from multiple video display options, including thumbnails, categories, or a featured video. You can also add a vertical playlist in the right rail for easy navigation.
Meta Tags With Social Sharing
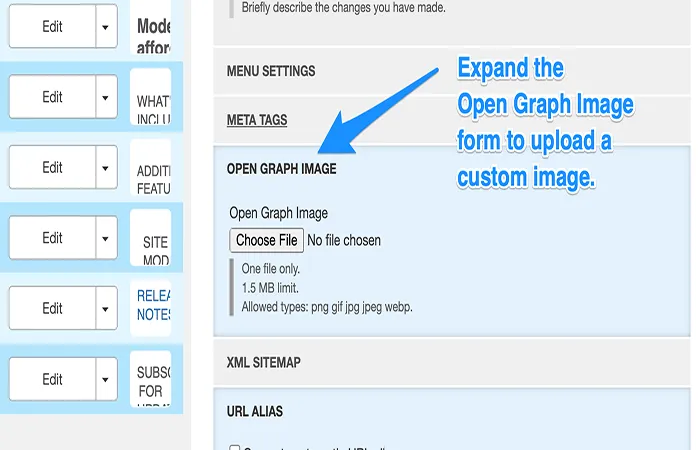
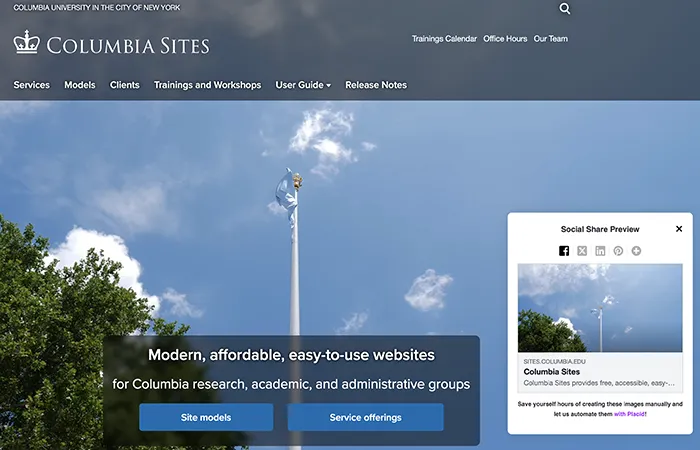
Content Managers can now manage meta tags across content types when sharing via social media. Featured images are automatically carried over, but now you can also select a custom image when sharing on social media platforms.
Upload a Custom Open Graph Image
Scroll to the Open Graph Image section on the right side of the page.
- Select Open Graph Image to open the image upload options.
- Select the Choose File button.
- Navigate to the folder containing your image.
- Select the image you want to upload, then select Open.
- Confirm that the selected image appears in the Open Graph Image section.
- Select Save.
Thanks for using the Columbia Sites platform, and stay tuned for more platform enhancements and service updates over the next few months.
The Columbia Sites Team