Webform
Definition
A Webform is a tool used to collect information from users directly through your website. It can be utilized for various purposes, including inquiries, feedback, registrations, and requests.
Creating a Webform
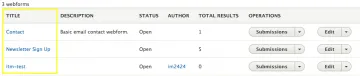
Access the Forms Section
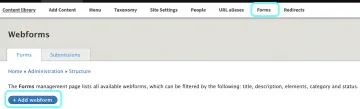
- Navigate to the top menu and click on Shortcuts.
- Select Forms from the dropdown menu.
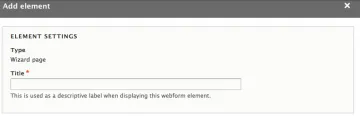
- Either select an existing form to revise or click on Add Webform.
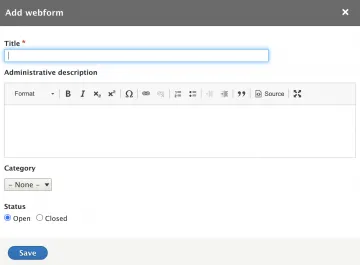
- Enter a descriptive title in the Title field.
- Optionally, provide an Administrative Description for internal reference.
- Choose a Category to organize your form.
- Set the form status to Open (active) or Closed (inactive).
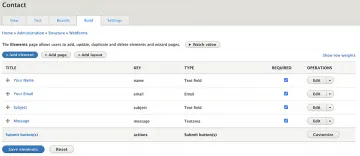
Building the Form
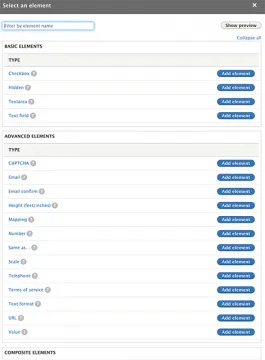
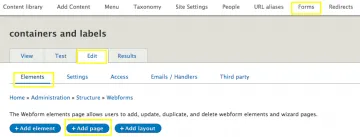
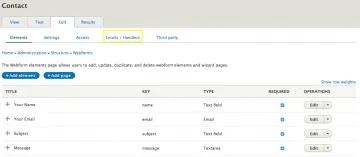
Add Elements
Incorporate various input fields such as text boxes, checkboxes, and dropdown menus to gather information. Note that a CAPTCHA element will be automatically added to every form for security.
Configure Form Settings
- Status: Determine if the form is open, closed, or scheduled for specific dates.
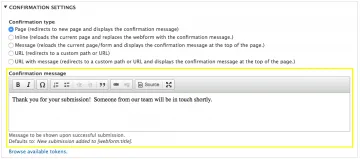
- Confirmation Message: Craft a message to display upon successful submission.
- Email Handlers: Set up email notifications to receive form submissions.
- Access Control: Define who can view or manage form submissions.
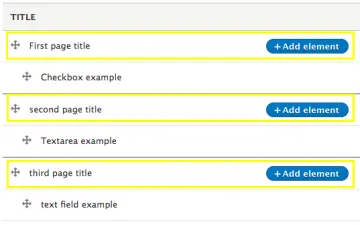
Note: Each added element will appear in the Build display. Elements can be reordered by dragging them using the crosshairs icon.
Embedding the Webform
- Navigate to the desired page and click Edit.
- Click on Add Page Section.
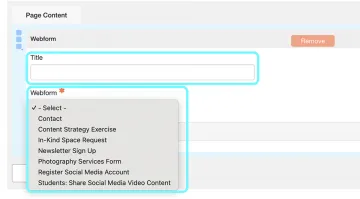
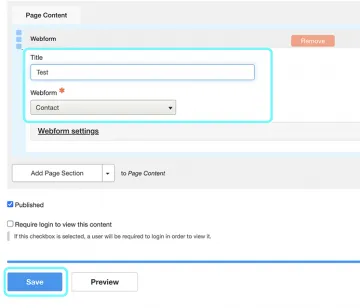
- [Optional] Enter a title for the section.
- From the dropdown, select Webform.
- Choose your previously created form.
- Click Save.
Adding Conditional Logic
Conditional logic allows form fields to appear or disappear based on user input.
Access the Form
- Create a new form or edit an existing one, see steps above.
Add an Element with Conditional Logic
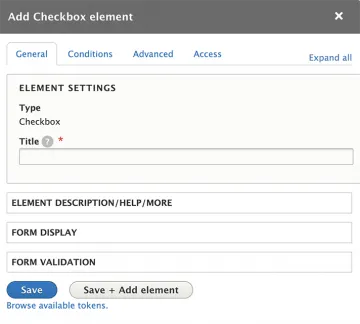
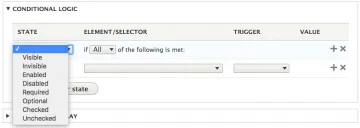
- When adding a new element, expand the Conditional Logic section.
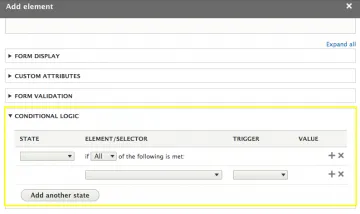
- Set the State (e.g., Visible, Hidden) for the element.
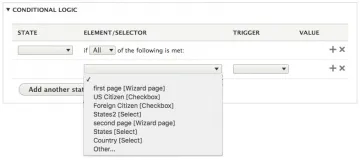
-
Choose the Triggering Element from the dropdown.
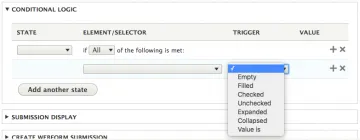
-
Define the Trigger Value that will activate the condition.
Important Notes
- Logic applies only within the same page; cross-page logic isn't supported.
- Only apply logic to elements that need to change visibility based on user input.
Creating Multipage Forms
Multipage forms enhance user experience by segmenting lengthy forms into manageable sections.
Start a New Form
- Go to Shortcuts > Forms.
- Click +Add Webform to create a new form.
Add Pages
- Click +Add page to insert a new page into the form.
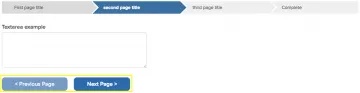
- Provide a Title for the page; this appears in the wizard bar.
- Ensure that each page title reflects the information it collects.

-
Optionally, customize the Previous and Next button labels.

Add Elements to Each Page
- Use the +Add Element button on each page to insert fields.
- The CAPTCHA element will be automatically added to every form for security.
- You can drag and drop elements between pages using the crosshairs icon.
Setting the Confirmation Message
-
Click Settings > Confirmation Settings.
-
Enter the message to display upon successful submission.

Viewing and Managing Form Submissions
Columbia Sites provides tools to view and manage form submissions effectively.
Access Submissions
Navigate to Shortcuts > Forms.
Find the desired form and click on it.
- Click the Results tab to view all submissions.
Export Submissions
- Within the Results tab, use the Download option to export submissions

Email Submissions
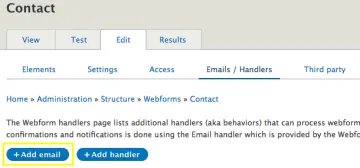
Set Up Email Handlers
- In the form's edit view, click Email / Handlers.
-
Click +Add Email to create a new email handler.
Configure Email Settings
- Send To: Choose recipients by selecting custom email addresses or form fields.
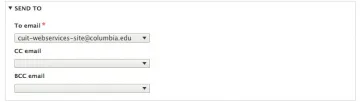
-
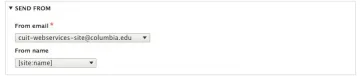
Send From: Define the sender's email and name.
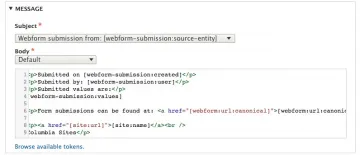
- Subject and Body: Leave this set to the default to receive the values of all submitted fields.
- [Optional] Customize the email's subject line and message body.
Important Notes
- Ensure that only valid email addresses are used to prevent delivery issues.
- Test email handlers to confirm they function as expected.