Timeline
Timeline presents a sequence of events interactively and is ideal for showcasing historical milestones, project progressions, or any sequence of events in chronological order.
Definition
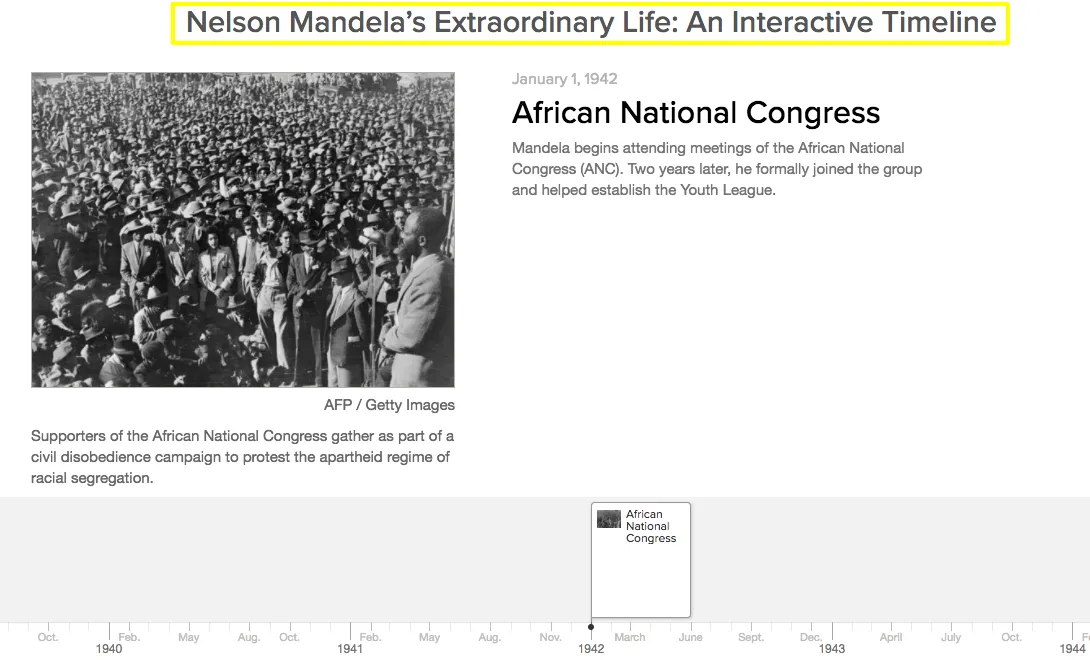
A Timeline is a content component in Columbia Sites that allows you to present chronological events interactively on a Landing Page. Each event can include dates, text descriptions, images, videos, and optional filters for enhanced navigation. Timelines are ideal for showcasing historical milestones, project progressions, or any sequence of events.
Usage & Specification
When to Use:
-
To display a sequence of events in chronological order.
-
To illustrate the history or evolution of a project, department, or initiative.
-
To provide an interactive visual representation of events for user engagement.
Specifications:
-
Placement: Timelines can only be added to Landing Pages.
-
Filters: Optional; up to three filters can be created to categorize events.
-
Introductory Slide: Optional; serves as an introduction to the timeline.
-
Event Components:
-
Date: Required; determines the event's position on the timeline.
-
Headline and Text: Optional; provides a title and description for the event.
-
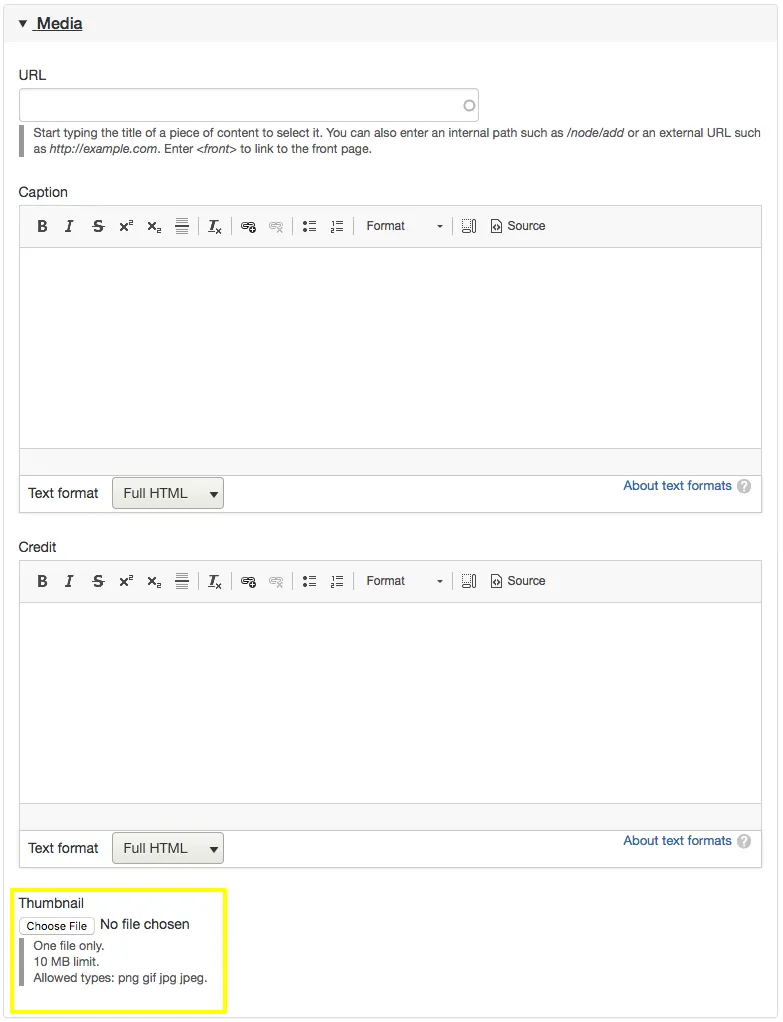
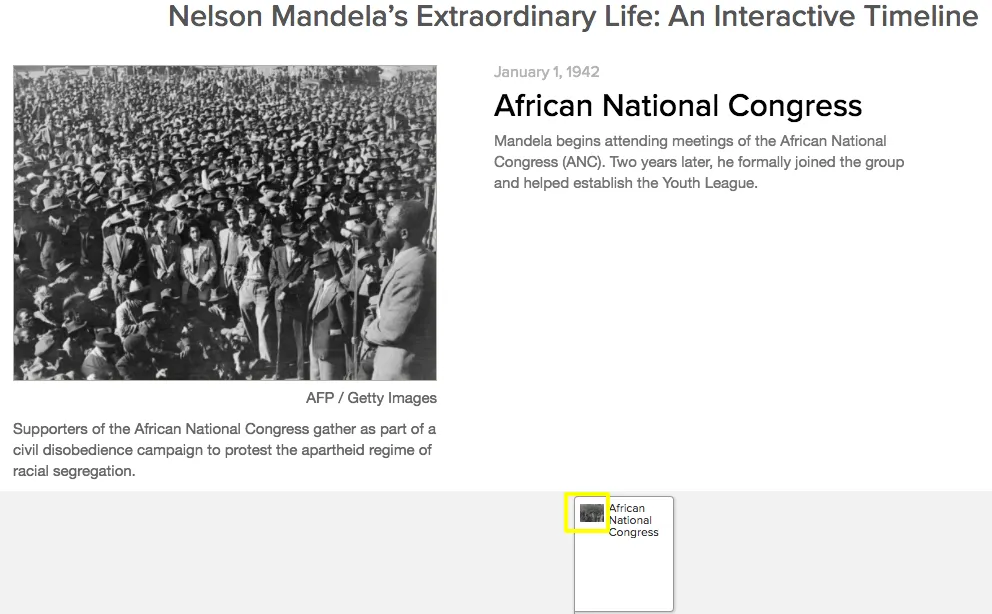
Media: Optional; supports images or embedded videos via URL.
-
Thumbnail: Optional; appears on the timeline's navigation axis.
-
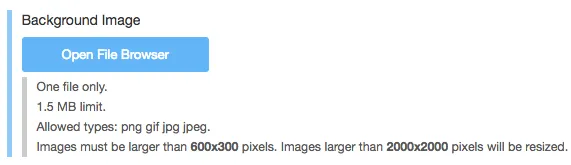
Background Image: Optional; spans the entire slide for visual impact.
-
Note: Filters must be set up before adding events to the timeline.
How to create a Timeline
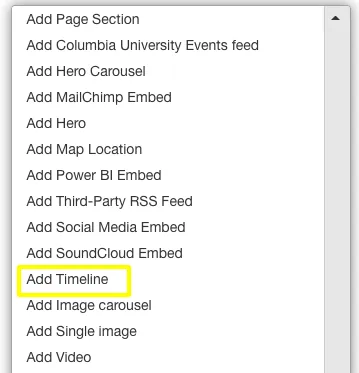
On the desired Landing Page, select Add Timeline from the component options.
Configuring the Timeline
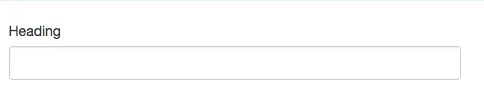
[Optional] Add a Heading
-
Enter a heading for the timeline. This remains visible as users scroll through the events.
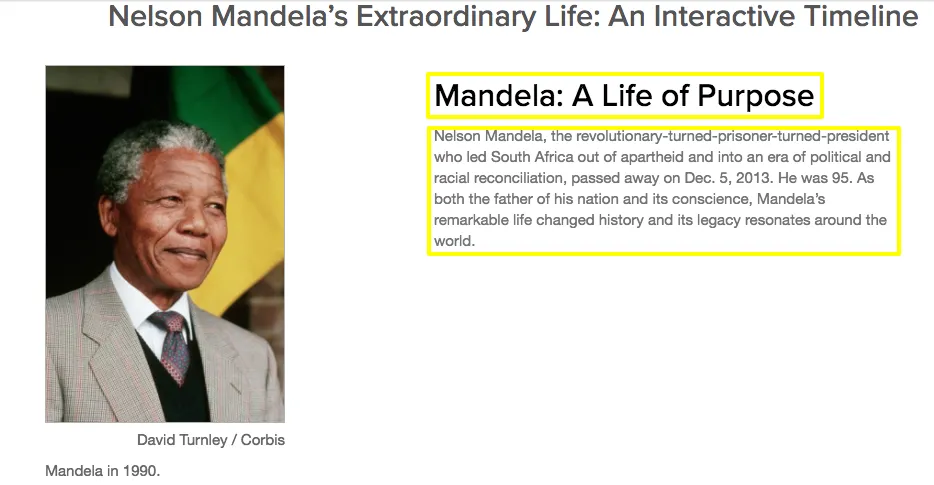
[Optional] Add an Introductory Slide

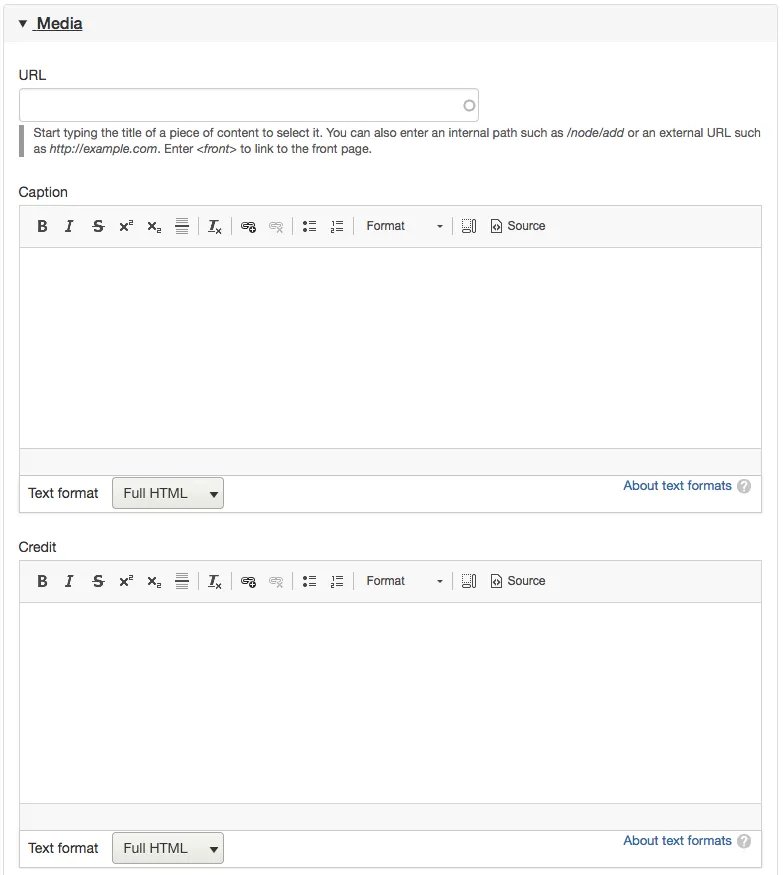
Expand the Text section to add a headline and description.
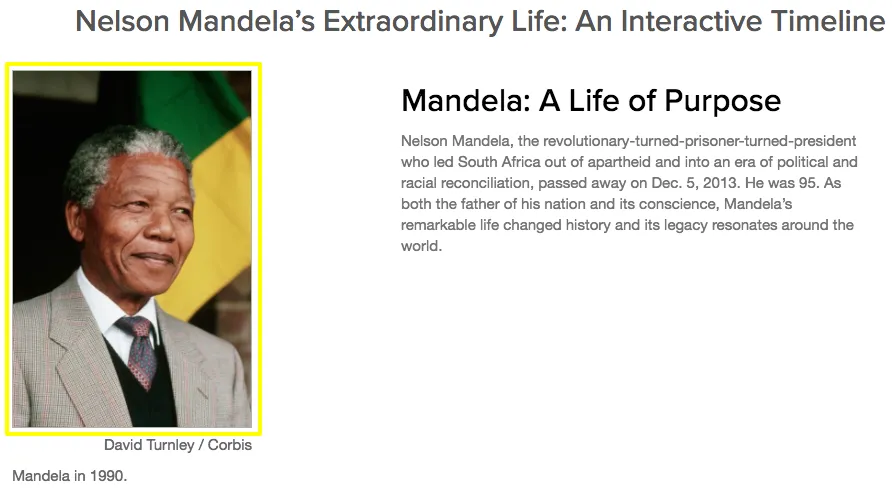
Expand the Media section to add an image or video via URL.

Enter captions and credits as needed.
Adding Events to the Timeline
For each event:
-
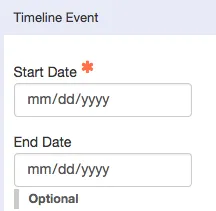
Enter the Date:
-
Specify the event's date to position it on the timeline.
-
-
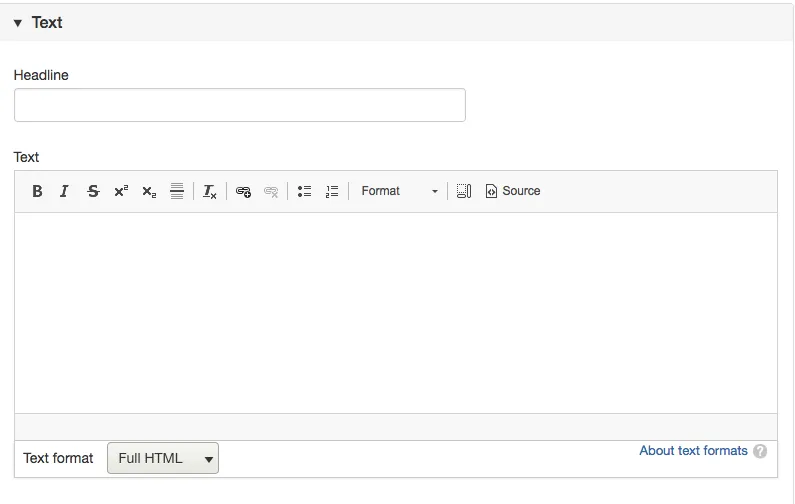
Add Text Content:
-
Expand the Text section.
-
Enter a headline and descriptive text for the event.
-
-
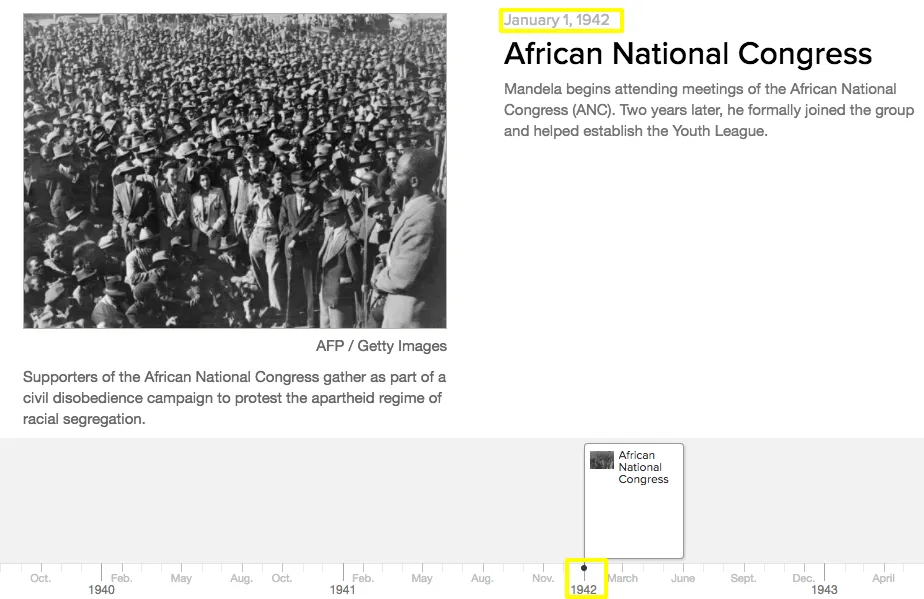
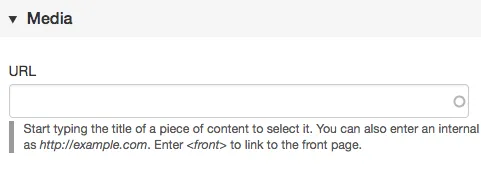
Add Media:
-
Expand the Media section.
-
Provide a URL for an image or video.
-
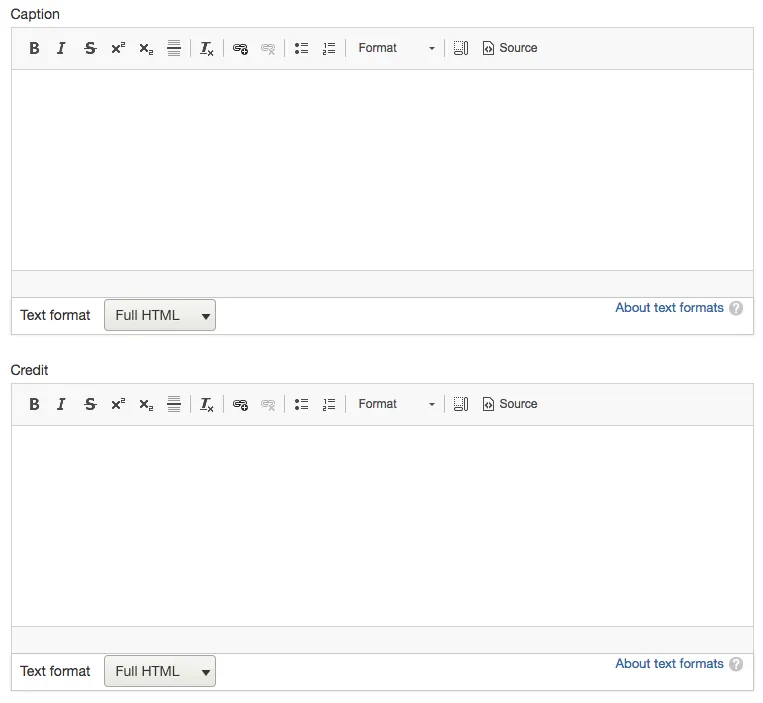
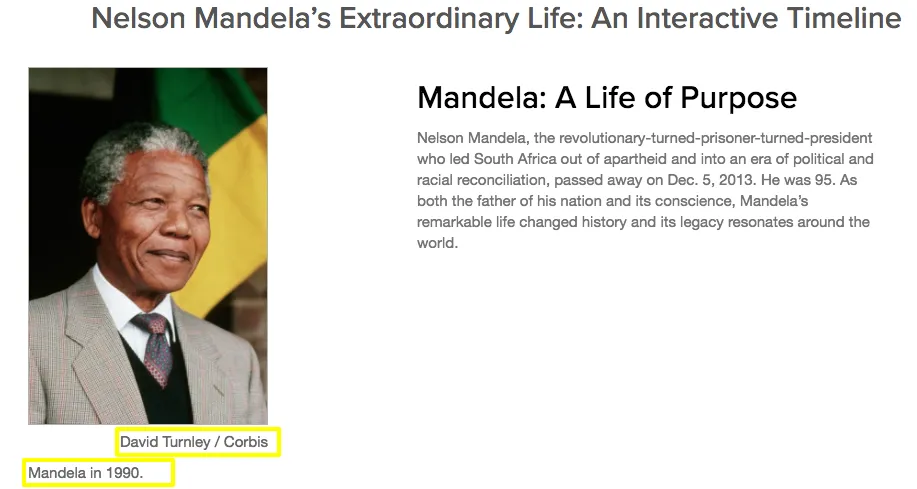
Enter captions and credits as appropriate.
-
-
[Optional] Enter a caption and/or credit for the media URL just entered
-
[Optional] Add a Thumbnail:
-
Provide a URL for a thumbnail image to appear on the timeline's navigation axis
-
-
[Optional] Add a Background Image:
-
Provide a URL for a background image that spans the entire event slide.
-
-
[Optional] Assign Filters:
-
Assign filters to help users quickly locate events of interest on your timeline.
-
Important: these filters need to have been previously set in Taxonomy and Site Settings
-
Add additional events to your timeline.
- Repeat the process for each additional timeline event

Click Save to publish the timeline