Table
The Table component structures content into a clean and organized format of rows and columns.
Definition
The Table component in Columbia Sites enables you to organize and present data in a structured format using rows and columns. Each row alternates between white and grey backgrounds to enhance readability. This feature is ideal for displaying schedules, comparisons, or any information that benefits from a tabular layout.
Specifications and Usage
When to Use:
-
To present structured data such as schedules, pricing, or comparisons.
-
To organize information that benefits from a row and column format.
-
To enhance the readability of complex information.
Specifications:
-
Sorting: Optional. Enabling sorting allows users to sort the table by any column. Note that sorting applies to all columns; individual column sorting cannot be disabled.
-
Headers: Optional but recommended. Using the first row as headers improves accessibility and is required if sorting is enabled.
-
Formatting: Cell content can be formatted using WYSIWYG controls, including bold, italics, and lists. Use SHIFT + RETURN to create a hard line break within a cell.
-
Row Reordering: Rows can be moved up or down using the arrow controls on the left side of each row.
-
Adjusting Rows/Columns: You can add or remove rows and columns. Changes affect the bottom-most rows and right-most columns, respectively. After making adjustments, click "Rebuild Table" to apply changes. Be cautious: removing rows or columns that contain data will delete that data.sites.columbia.edu
How to create a Table
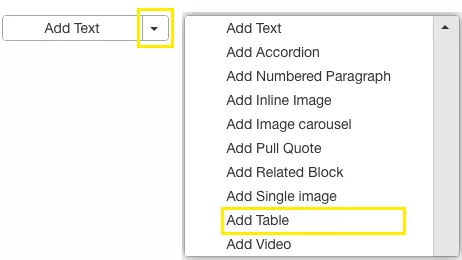
Insert the Table Component on a page:
-
Within the editor, select Add Table from the available content options.
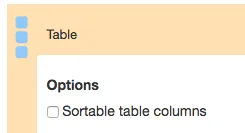
Configure Table Settings:
-
Enable Sorting: Check the box if you want users to sort the table by columns. Remember, this enables sorting for all columns.
-
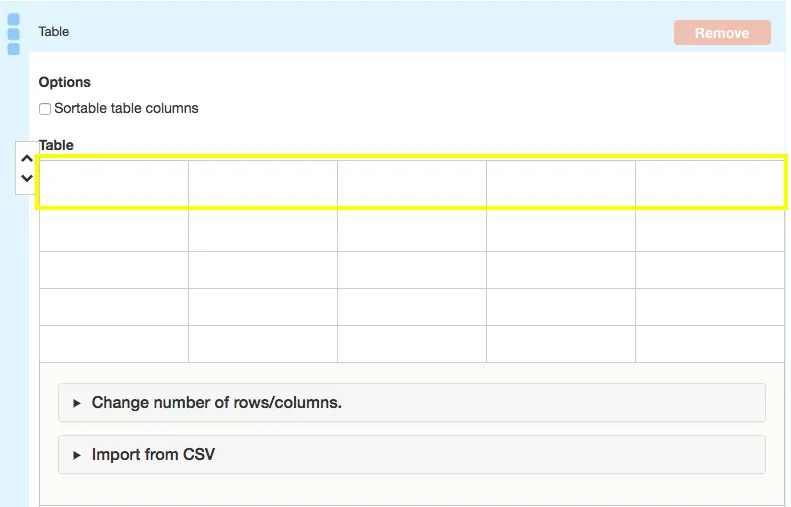
Set Headers: Use the first row of cells to create column headers. This step is crucial for accessibility and is required if sorting is enabled.
Enter Data into Cells:
-
Manually
-
Click into each cell to input your data.
-
Use the WYSIWYG controls to format text as needed.
-
To insert a hard line break within a cell, press SHIFT + RETURN.
-
-
Automated
-
Import a CSV file
-

Reorder Rows (If Necessary):
-
Hover over the row you wish to move.
-
Use the arrow controls on the left to shift the row up or down.
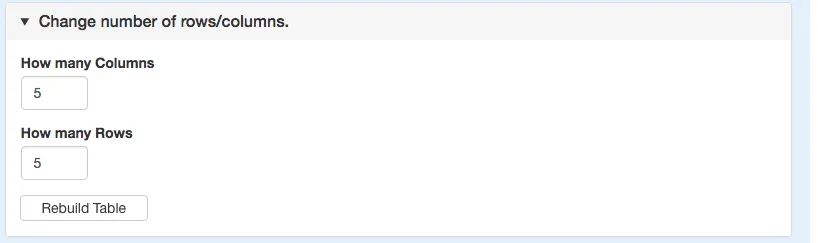
Adjust Rows and Columns:
-
Expand the "Change Number of Rows/Columns" section to add or remove rows and columns.
-
After making changes, click Rebuild Table to apply them.
-
Be cautious: removing rows or columns that contain data will result in data loss.
Save Changes:
Best Practices
-
Accessibility: Always use headers for your tables to improve accessibility for users utilizing screen readers.
-
Data Integrity: Before removing any rows or columns, ensure they do not contain important data to prevent accidental loss.
-
Consistent Formatting: Use consistent text formatting within your table to maintain a professional appearance.