Alert
Definition
An Alert is a temporary message prominently displayed above the website banner on every page of the website.
Usage and Specifications
Alerts are used to communicate important, time-sensitive information such as:
- Deadlines
- Campus or building access updates
- Promotions
- Important news
The Alert content type is a stand-alone webpage, the summary field of which also appears in an orange band above the banner on every page of the website.
Fields marked with an asterisk are required.

Since the summary field is also the default meta tag, only include the most salient information in this field. The ideal character count for meta tags is roughly 160 characters. Detailed information—instructions, images, video, etc.—should be laid out on the webpage.
Exceeding the ideal character count will render your meta tag less useful, impeding both external and site search functionality, and the Alert may difficult to read on mobile devices.
How to Create An Alert
- Log in to your site.
- If the administrative menu is not visible, click on Shortcuts to toggle the menu on and off.
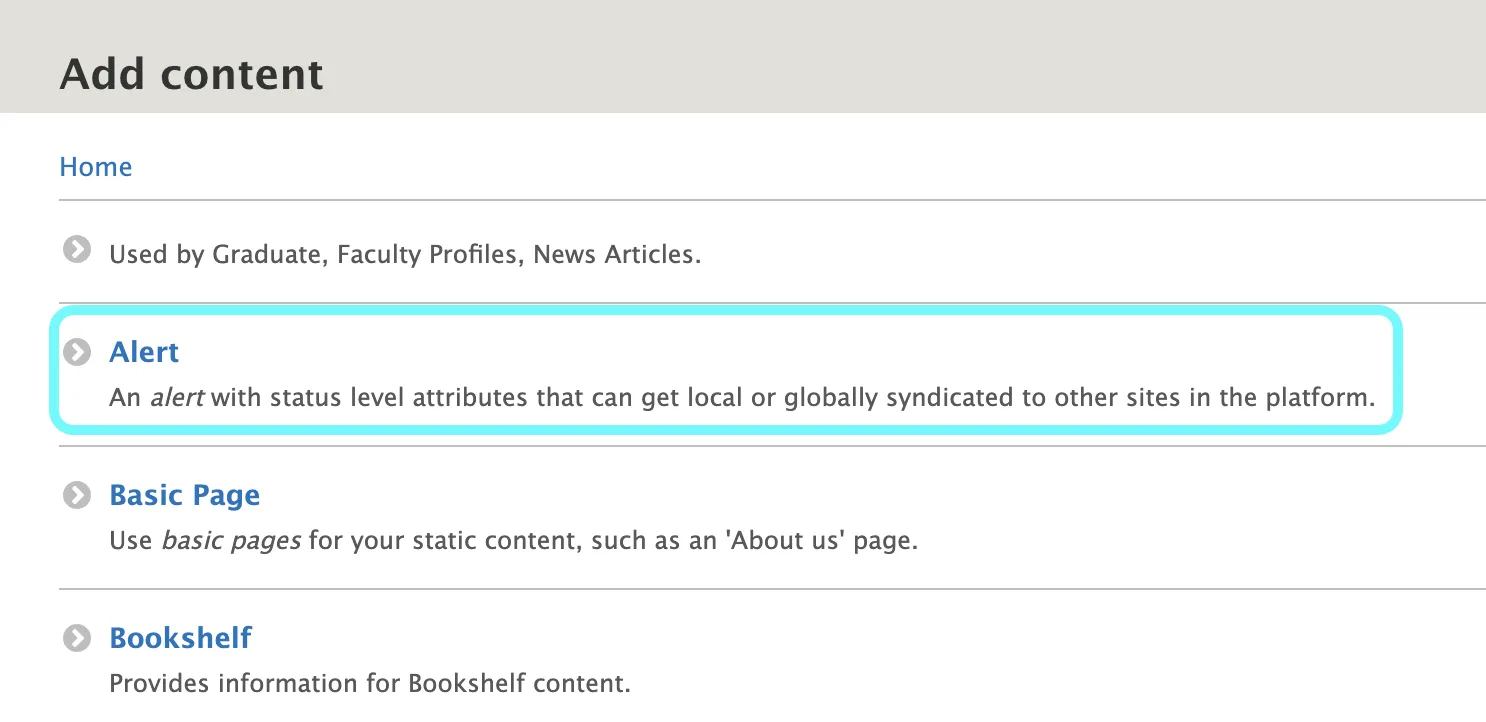
- Select Add Content and navigate to the Alert option.
Best Practices for Creating Alert Banners
- Only create one alert banner at a time: Complete one banner at a time. This ensures the delivery of a clear and lucid message and helps to prevent confusion.
- Avoid duplicating existing banners: Making edits to an existing banner can result in a double node this can lead to poor user experiences and glitchy behavior.
- Verify information before publishing: This helps to ensure a high level of clarity and accuracy in displaying a message.
After you'v entered a title, add the date and time the Alert to begin appearing (Post Date). Each time you update the Alert, enter the date and time you posted an update (Updated Date). Complete the Updated Date fields only when you are posting a change to the original Alert.
Select an Alert Attribute, e.g., Informational, Emergency, or Accessibility.
Next add the detailed information related to your message, which can include text, images, and video. Save the page.
